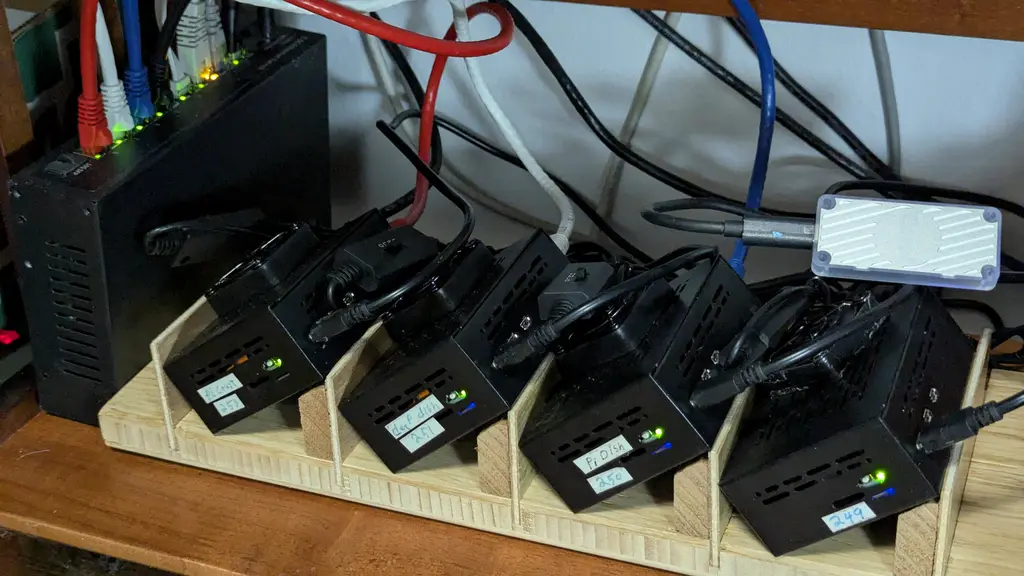
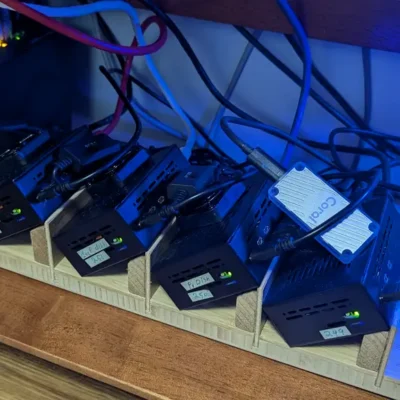
When I put the Pis into their cases I failed to take into account the heat the bottom mounted NVMe drives would generate or that the case would trap that heat to the point the Pi would go into thermal shutdown.
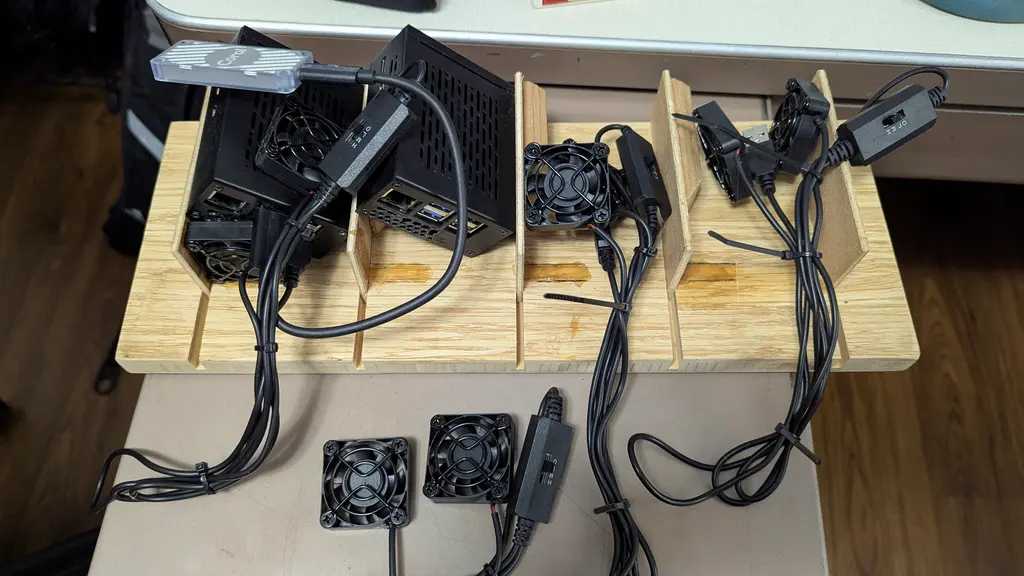
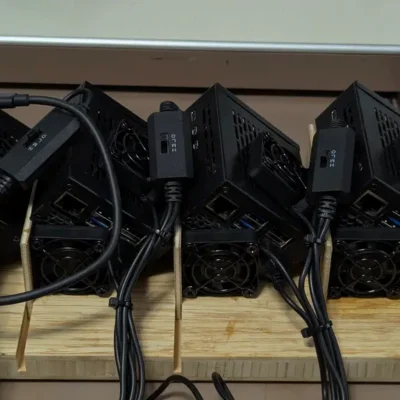
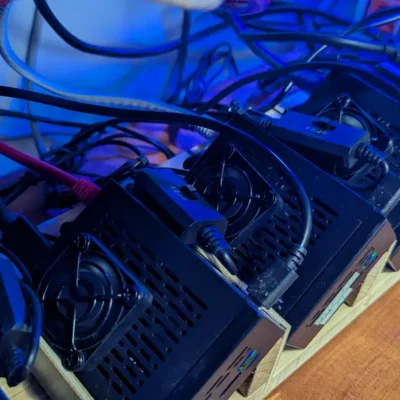
There are lots of vents on the sides of the case so I thought if I tipped it a bit natural convection would let the heat escape. That worked , but I wasn’t comfortable with the NVMe temps, they were still a bit high. I found some 40mm USB fans that came in pairs per USB. I ordered 2 pair and glued them to my Pi plate to add additional cooling.
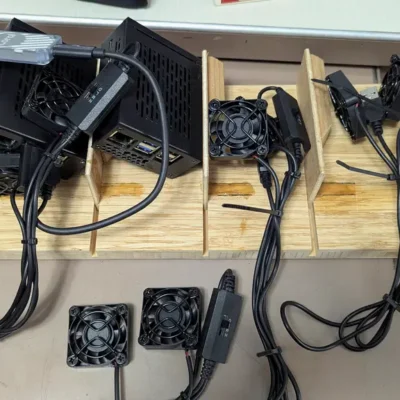
Unfortunately one of the fans did not take kindly to being glued down and would occasionally start to squeal. Ungluing it helped but did not eliminate the squeal. I also found that sharing a fan between Pis made for lots of cable clutter.
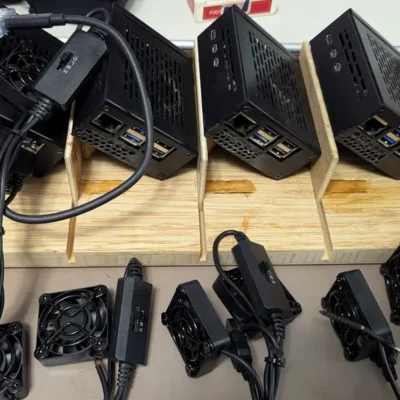
My solution was to go with a pair of fans per Pi. Using a few zip ties I was able to make a neater cable bundle. With a fan as a backstop and the USB plug tailored to length it is now easy to have each Pi plug and play on the Pi plate.
I grew up working with tools, fixing, maintaining & modifying things. This was mostly out of necessity, there was barely money to buy parts, certainly not to pay someone for markup & repair. If it didn’t take an expensive tool or special knowledge, and sometime even then, we would do it ourselves or make the attempt.
Sometimes it’s just for fun, sometimes it’s to build a better mousetrap, but DIY projects are a great way to learn something and usually you get what you want. Here are a few of my DIY projects from the past few years.
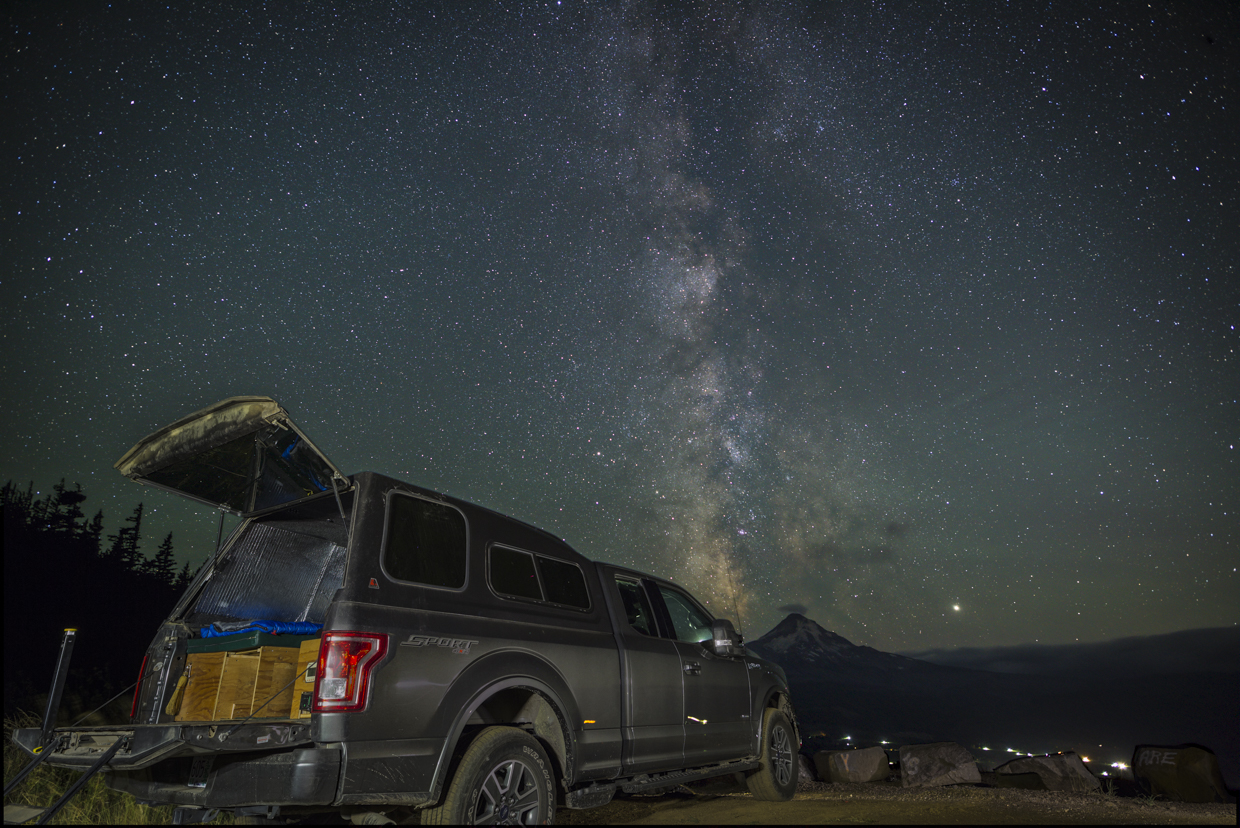
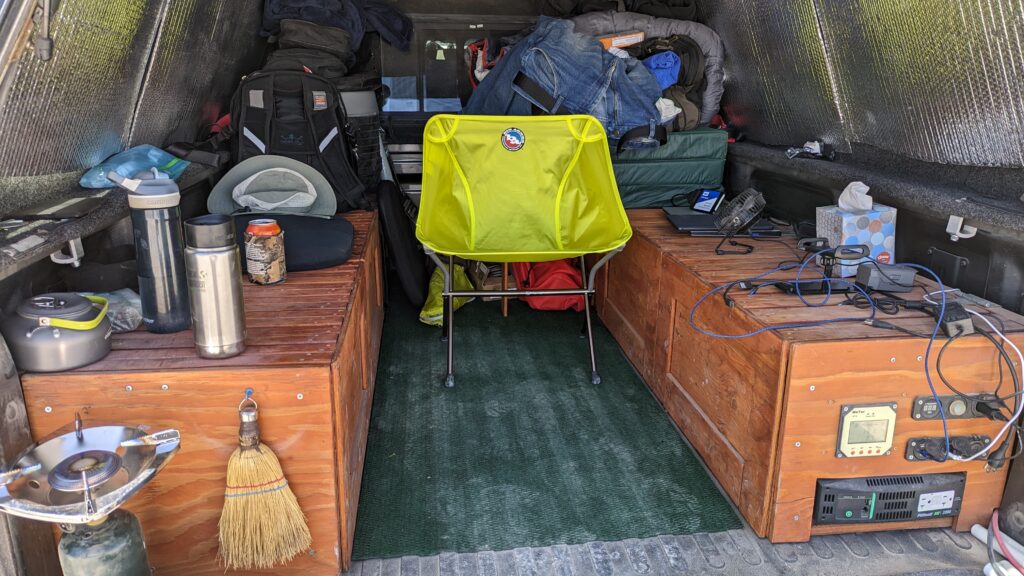
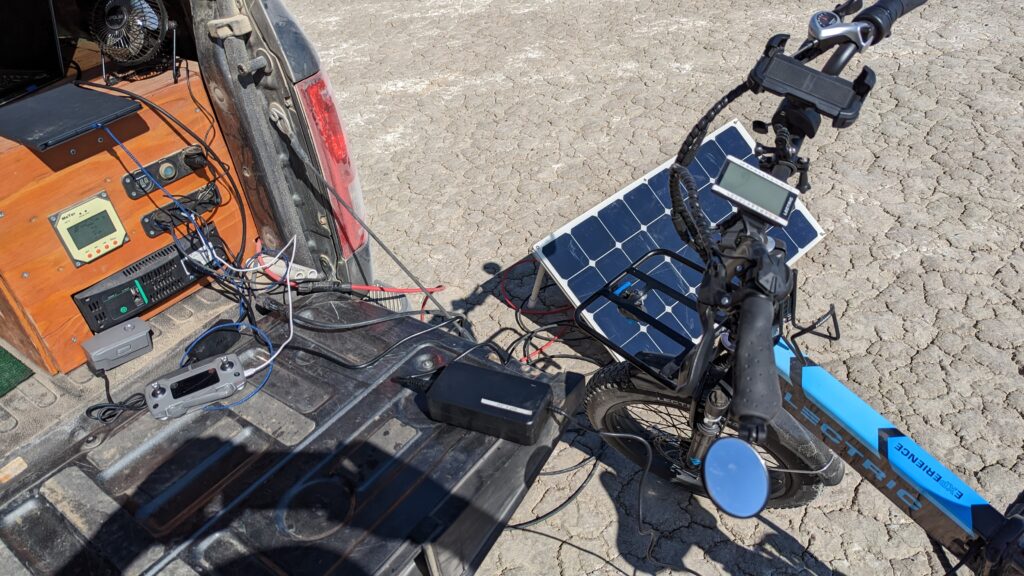
My 2016 F150 4×4 with hi-rise canopy was a retirement gift to myself. The first thing I did was build some multi-use furniture. What looks like bench seats are that, and storage space below the hinged seat that also extends out to make a single bed on either side or double with both. There’s also a power wall for charging devices; a 15amp inverter for 110v ac, a 2nd battery & solar charging.
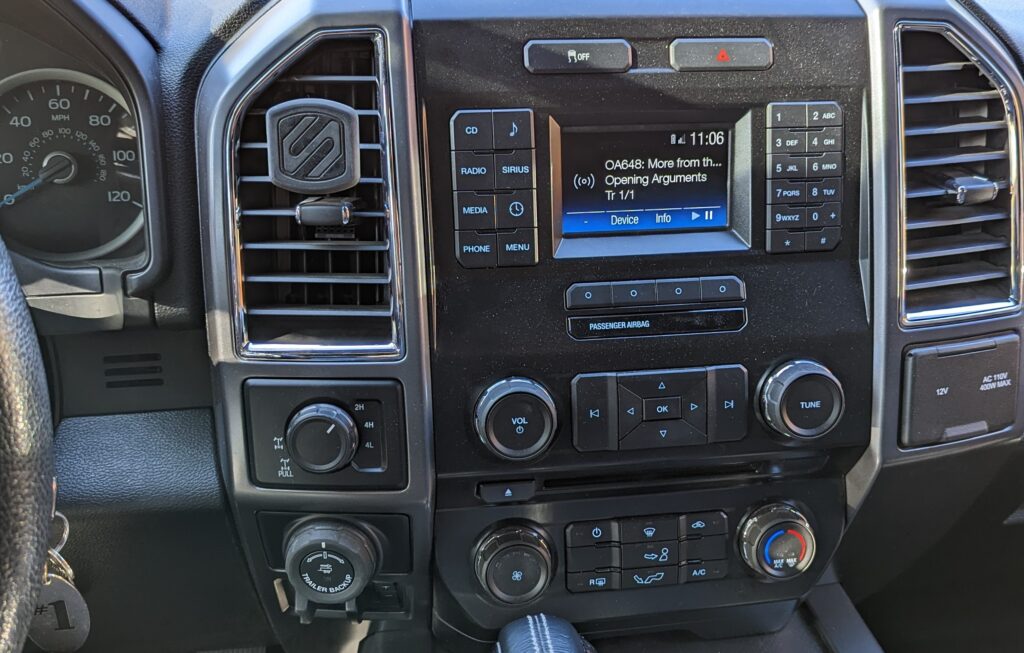
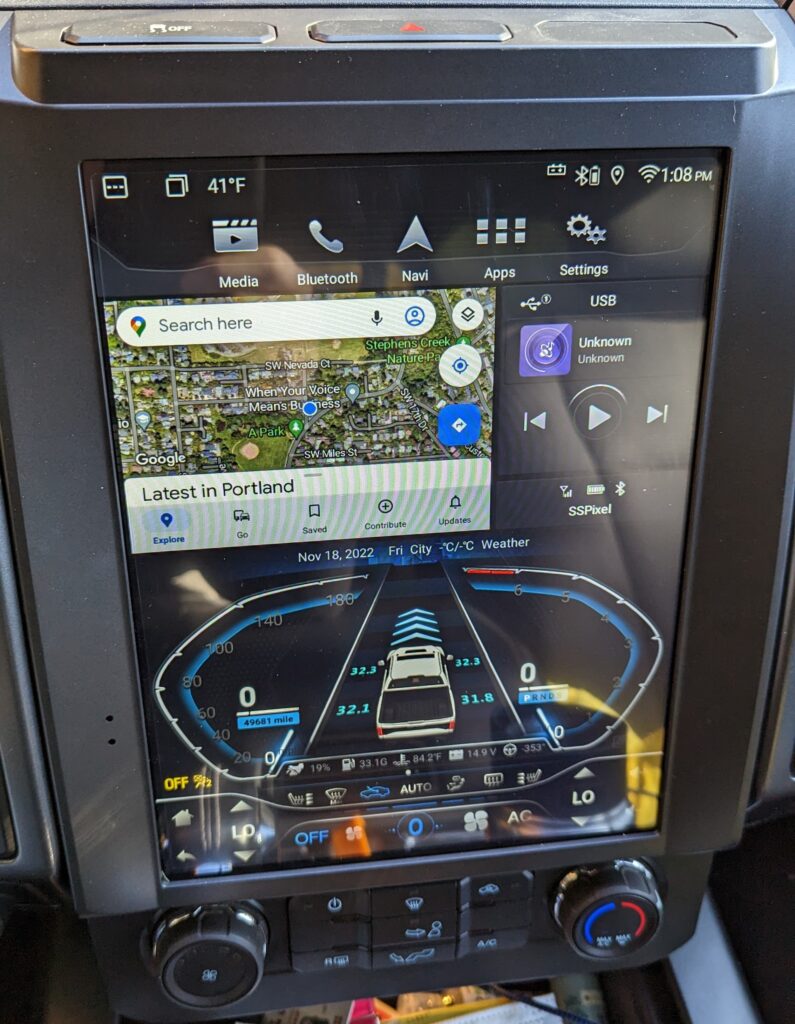
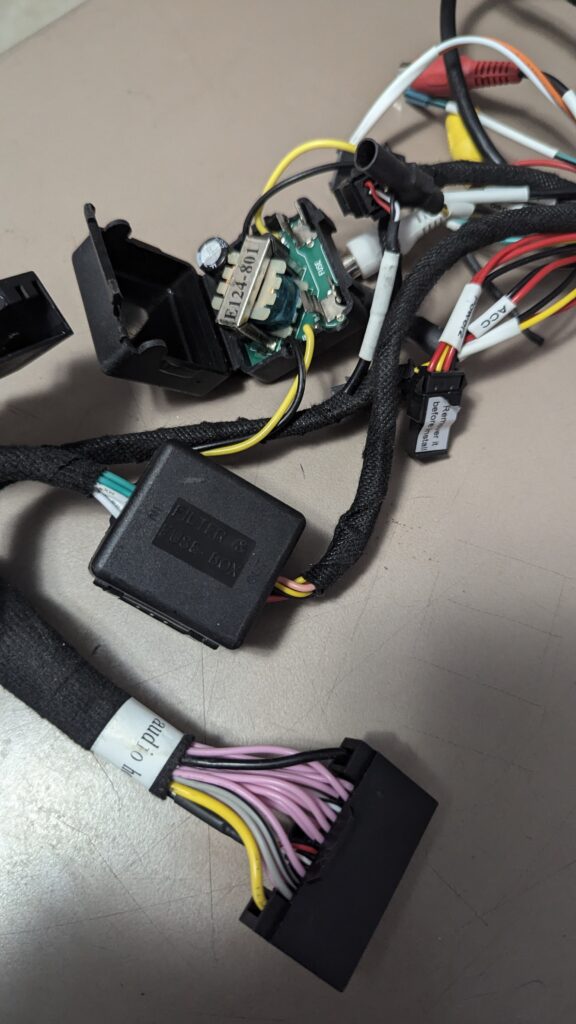
A couple of years back I came across an aftermarket kit to turn my dumb F150 into a smart F150 by ripping out the dash, a first for me, and installing a custom Android tablet. The Yulu e10
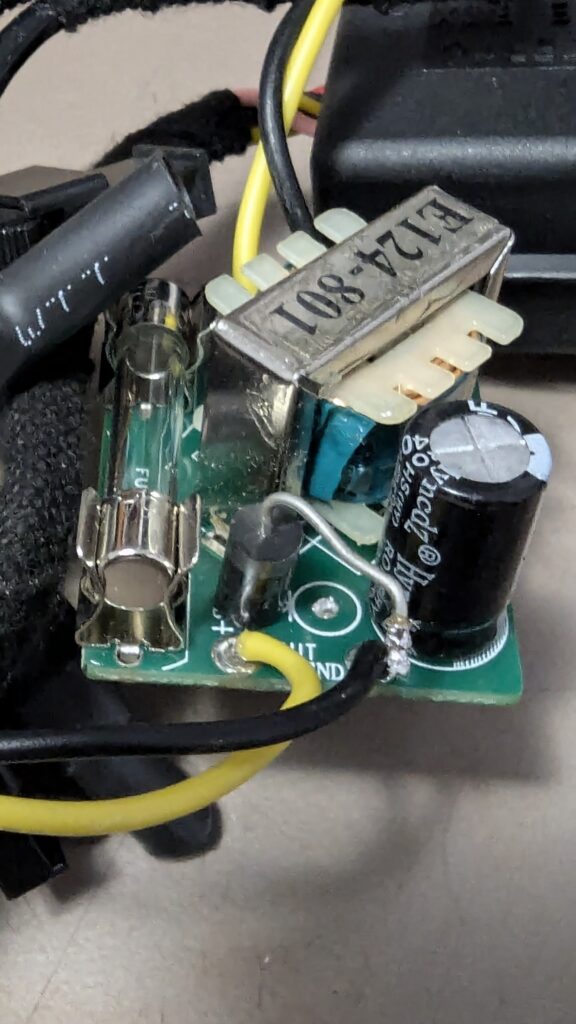
When the smart dash died a few months back the downside of DIY reared its head, now I had to fix what broke. Thankfully, I was once a bench tech for Tektronix; I had to dust off some skills needed to find that a diode in their aftermarket DC filter died. Back in the day this was a $0.05 item, retail from Radio Shack or any components supply house. Now those are all gone and it’s a dollar a piece in quantities of 5 or 6 on Amazon or eBay, or I could buy the same DC filter online for $12-$15. Either of these would require some cutting and soldering. The third option was to spend $55 for a new harness. Which solution would you choose?
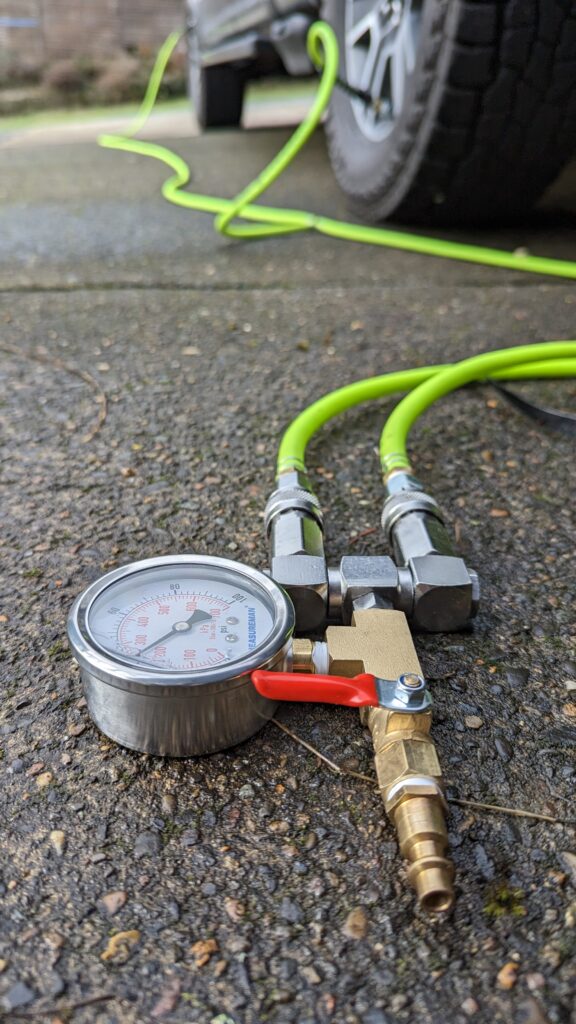
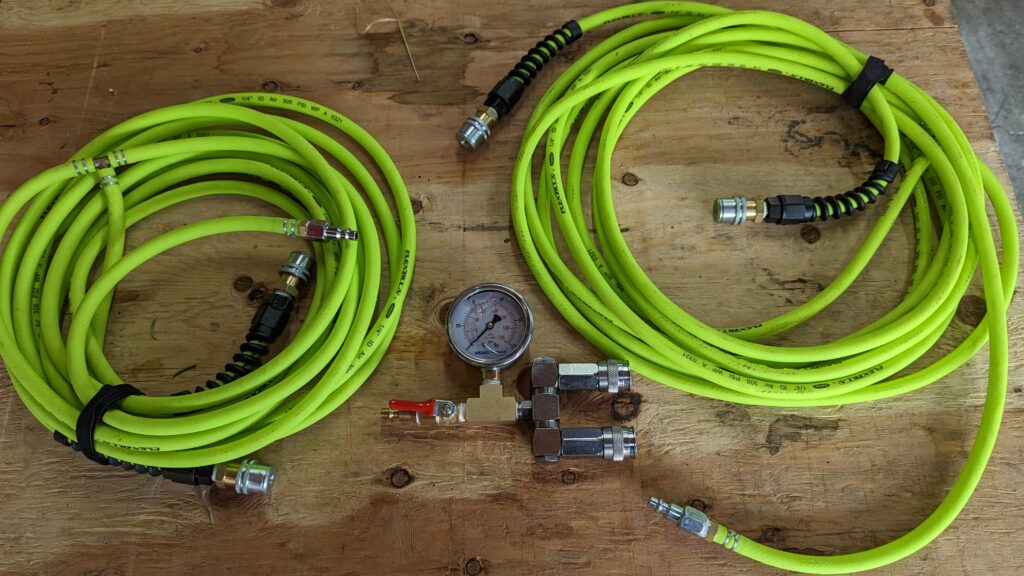
Another F150 related DIY endeavor was a 4-tire inflation & deflation harness. When driving in Sand, mud & snow significantly reduced air pressure in a tire will also significantly increase the contact patch giving the tire better traction in an reduced traction environment. Because all 4 tires are attached at the same time they all increase and decrease at the same rate. To quickly inflate the tires when needed in the field a good portable compressor is required. These typically come with non US standard pneumatic fittings and no pressure cut-off. Another DIY project to go with the hose.
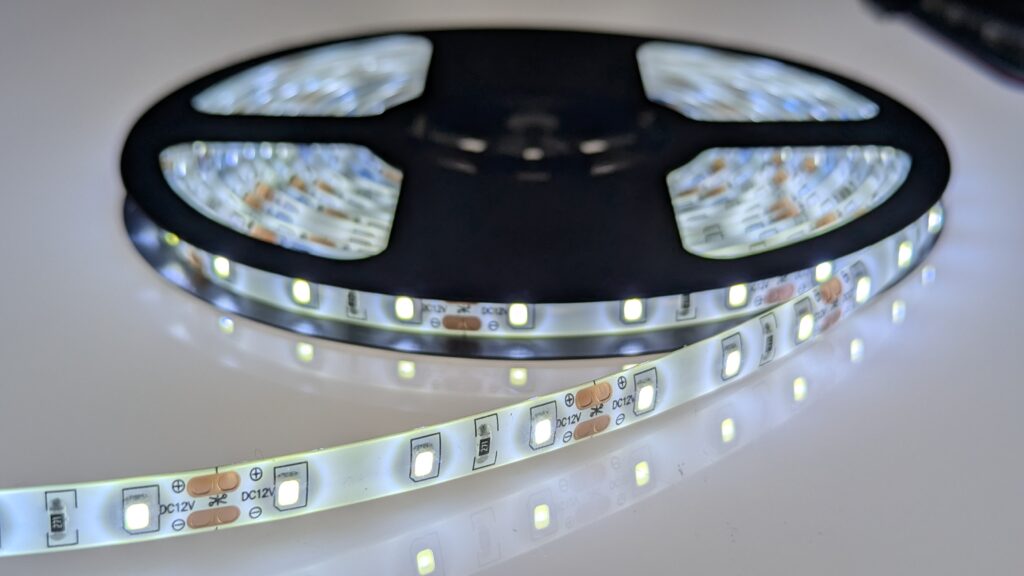
LED lights on a spool, so many possibilities. Like many things in my life I can OD quickly on some projects. I have AA battery powered RGB light wands, intended to hang from popup canopies. I’ve built garage, shop & bench lights from white LEDs. And a light box for sorting slides & negatives of as a studio light, so many possibilities.
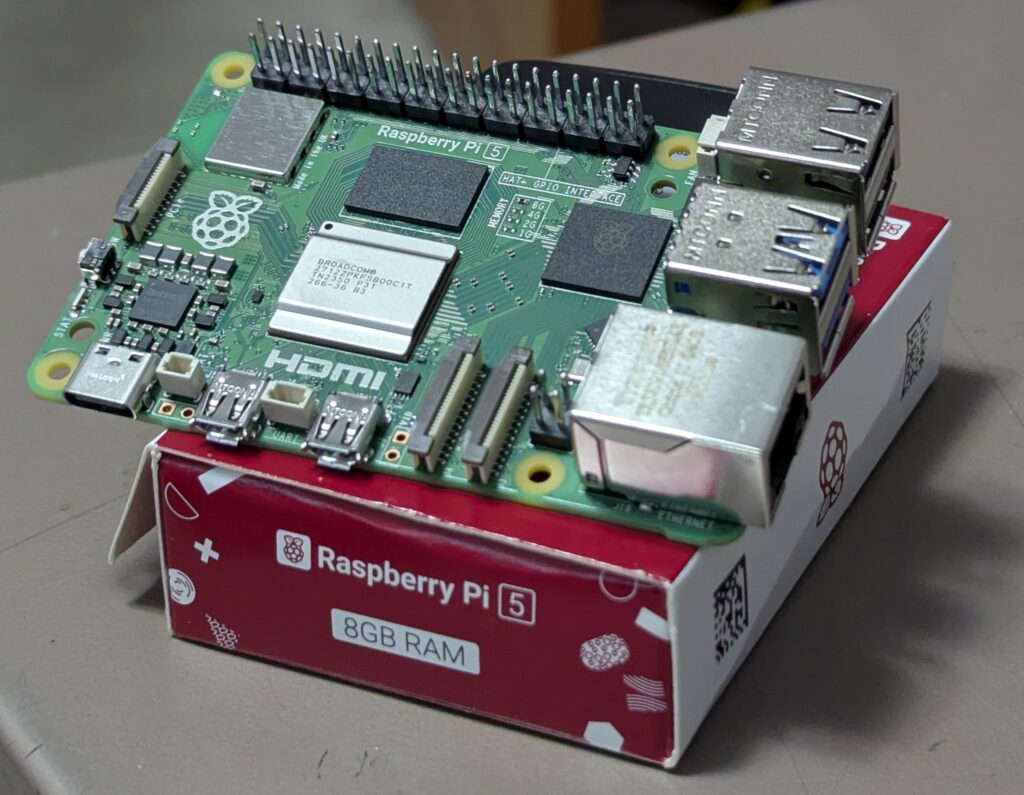
Raspberry Pi computers. I understand these little toy computer are good for little side projects. Maybe if I find some time I’ll see if I can find a good use for one.