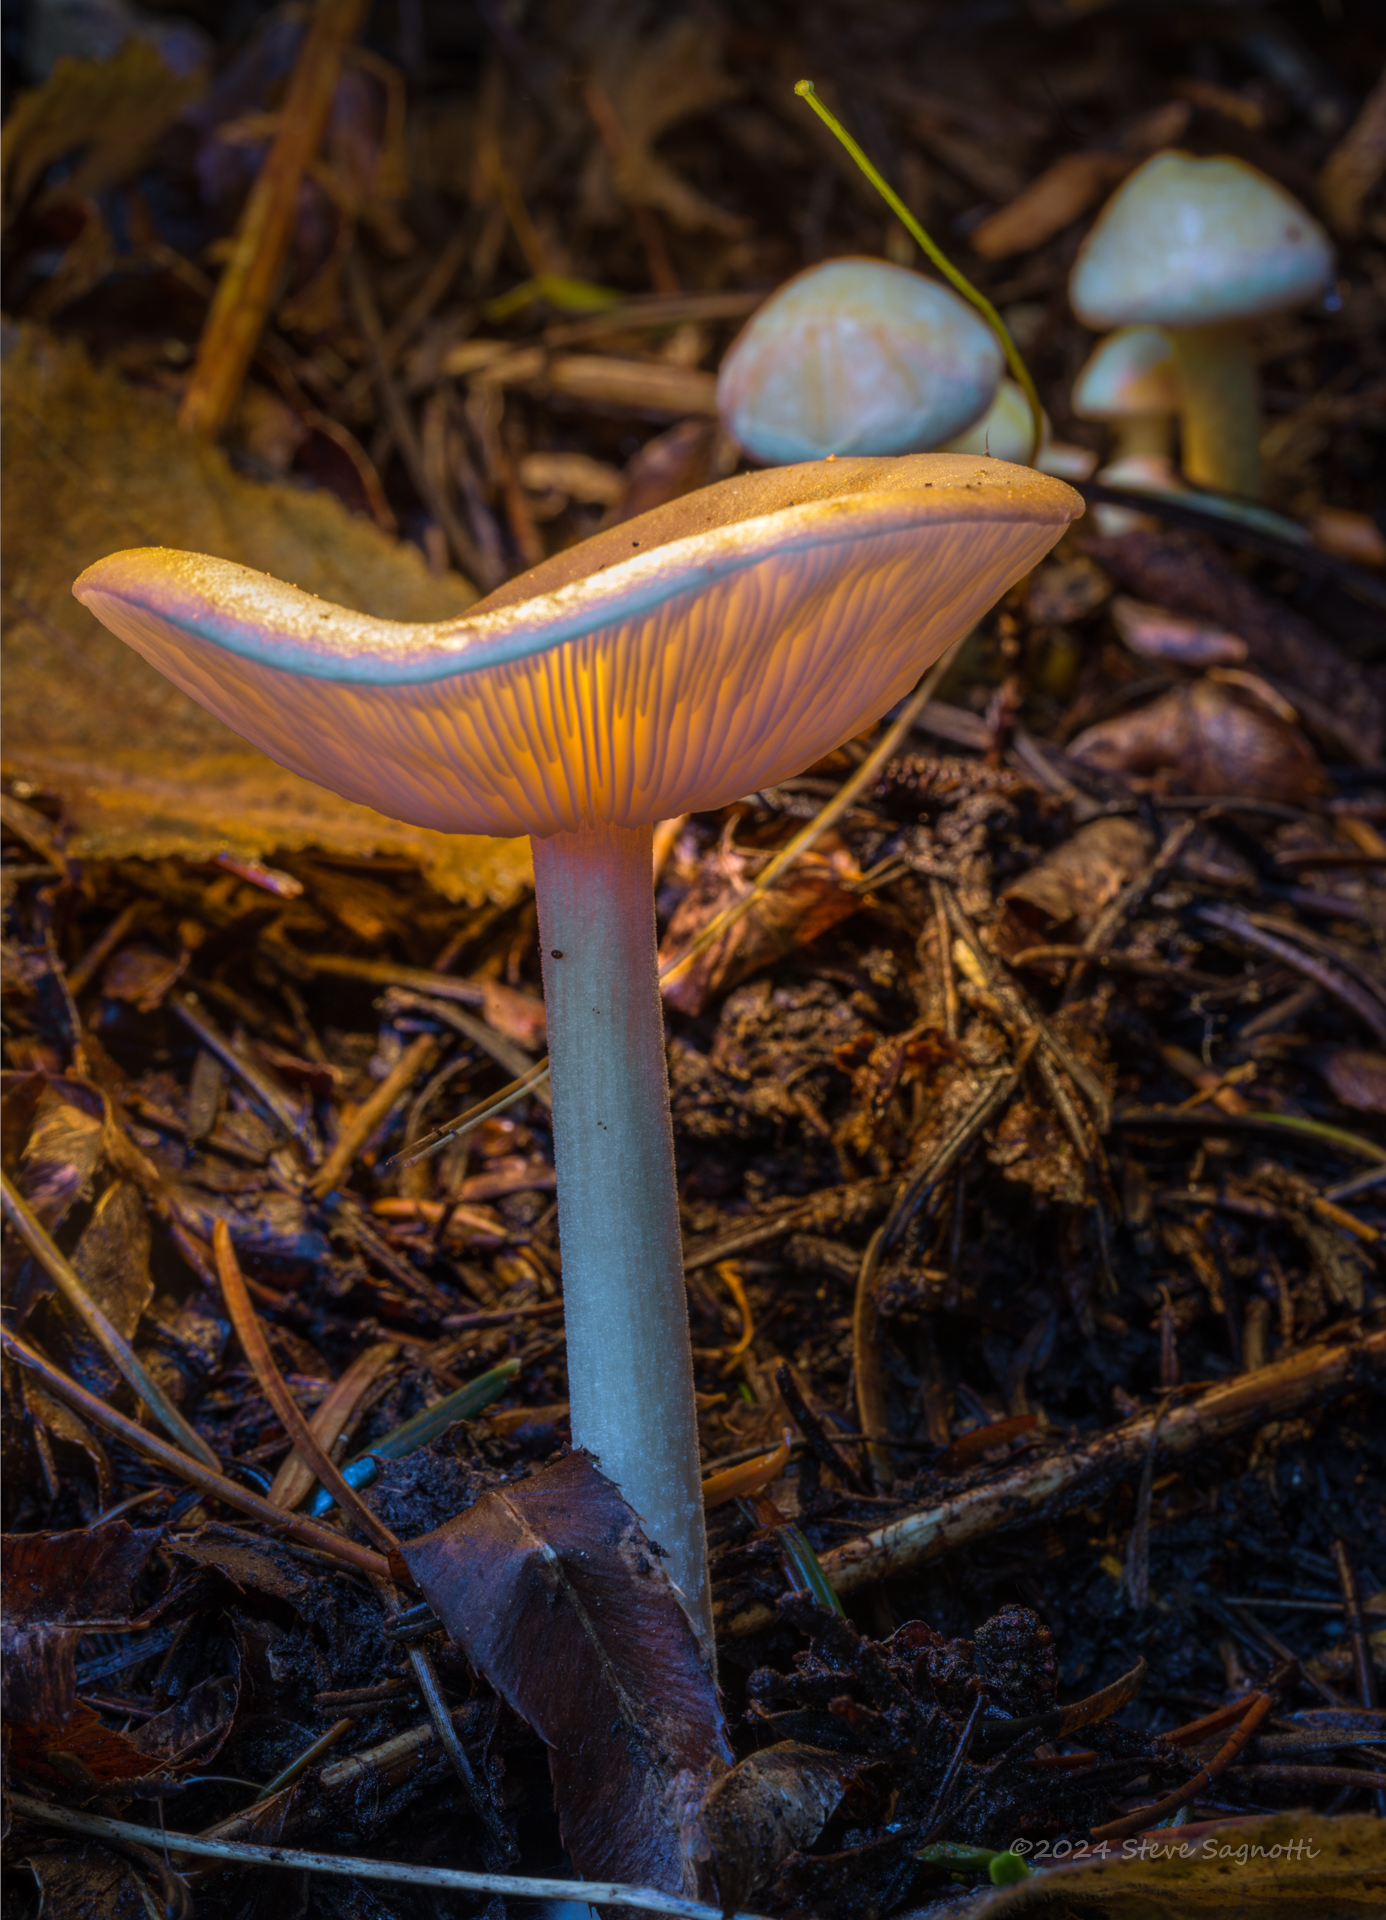
Light painted mushrooms are fun and easy to make, both when capturing the photons & processing the pixels. It is a great way to learn Photoshop or any layered image editor, how to master the use of layers and masks.
To take the picture you just need a way to support the camera at mushroom height and able to focus from a few inches away. A bean bag or tripod with a column that inverts will hold the camera low to the ground. A macro lens or focus-tubes, hollow tubes placed between the lens and camera that allows the lens to focus very close to the front of the lens for macro work will be needed. Also a small flashlight that isn’t terribly bright, the flashlight on a phone will work if that’s all that’s available.
Take your time getting a pleasing composition; make sure the sky is not in the picture (will be too bright) and that there are no distracting elements. Once you are happy with the composition do not move the camera for the duration of the shots other than to change exposure and be careful to not bump the camera when doing so
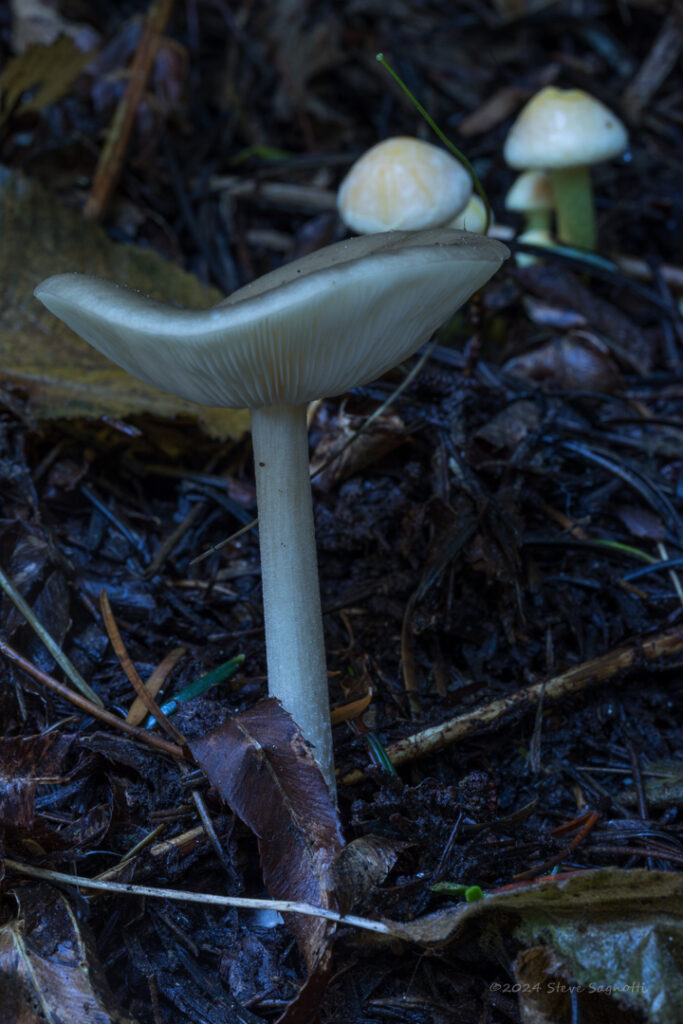
A base image is needed. this will be what you build the rest of the image from. It needs to be underexposed about 1-stop with an exposure of 1″-2″ and aperture of f/11, adjust ISO to get that exposure using the other values given.
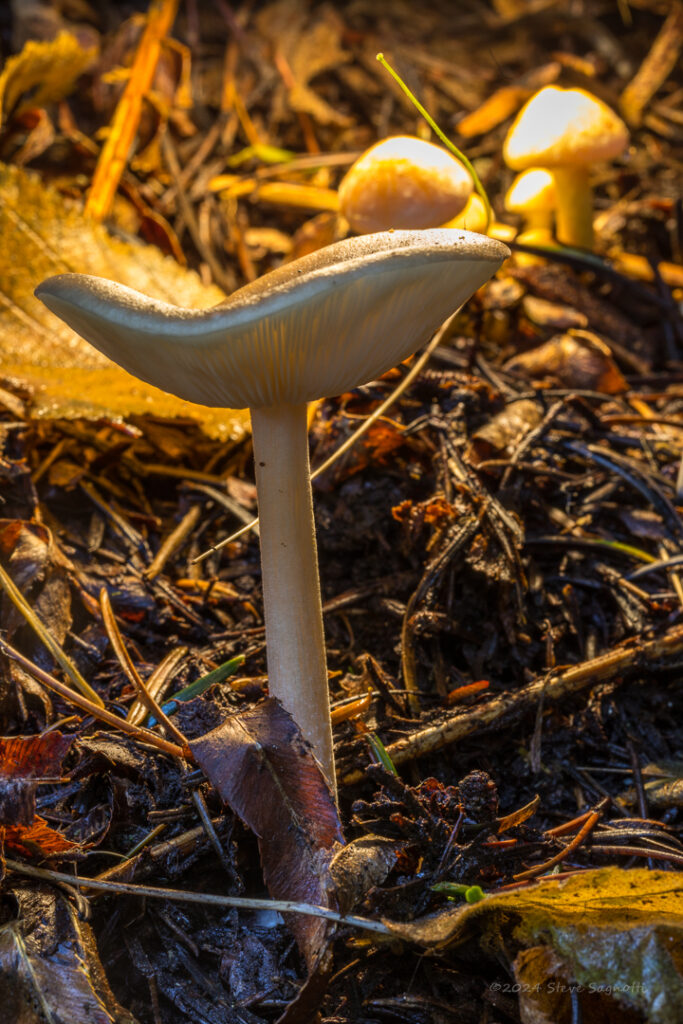
Once you have a base image carefully, without bumping the camera change the aperture to f/16 and shutter to 3″-5″. This will have 2 affects on the resulting images; the aperture change will increase the depth of field (more will be in focus front to back) and it will dim the rest of the image. The longer exposure time allows more time to move your light so you aren’t rushed and can take your time light painting. be careful to not overexpose with the light, watch the histogram for any crushing on the right side.
Rinse and repeat with other comps or mushrooms. Most of all have fun being out in nature.
I use a Lightroom to Photoshop workflow for images like this. I’ll do a base adjustment in LR and then bring them into PS to blend into the final image.
In LR I adjust the base image to have good details in the shadows but is overall underexposed slightly. The light painted images I tend to darken further and drop the highlights, what I want to see is clear details in the highlights and gills of the shroom, don’t blow these out during capture.
Once all the images are ready in LR, select the base and painted images for merging the edit as layers in PS. Once all the layers are in PS select the base image and move to be the bottom layer. Select all the layers then align the layers.
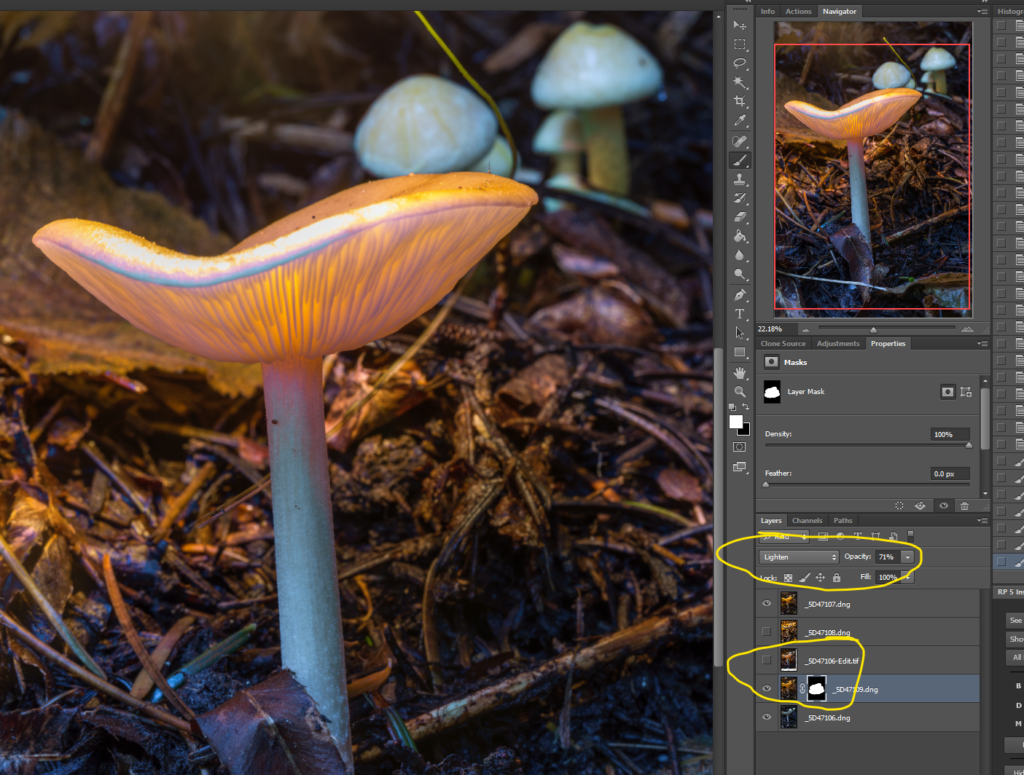
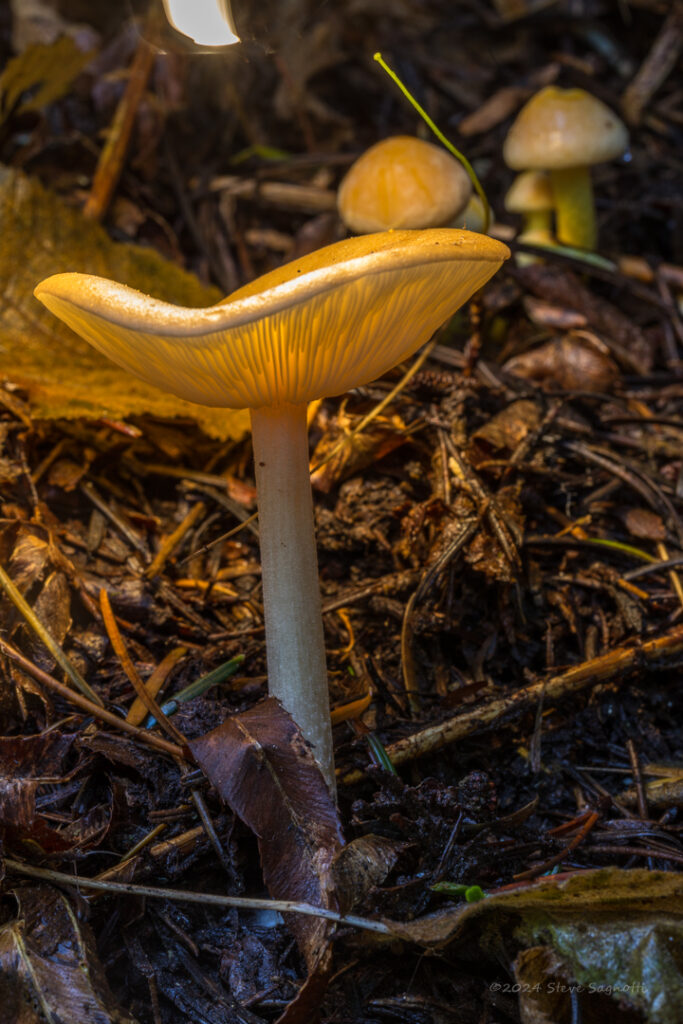
The next step is to simply select each light painted layer one at a time and change the blend mode to lighten. This will allow the light parts of the light painted image to be seen over the base image. Each layer can be toggled on and off (eyeball icon) to see what it adds to the image. A mask can be added to the layer to block out unwanted portions of the light painting from getting through. Also, the layer can be turned down it does not come through as strong.
Now it’s just a matter of playing with each layer until you get what you want. Have fun creating something unique.
Leave a Reply